6.4 CREATING A DOCUMENT IN THE EDMS NAVIGATOR
Note: Documents may only be created when you are navigating within a structure, a document will always be connected to a “project” or an “item” structure.
Access the selected project in the EDMS Navigator and navigate to the structure node where the new document is to be created and attached, then activate the button “Create doc”, as indicated in Figure 15.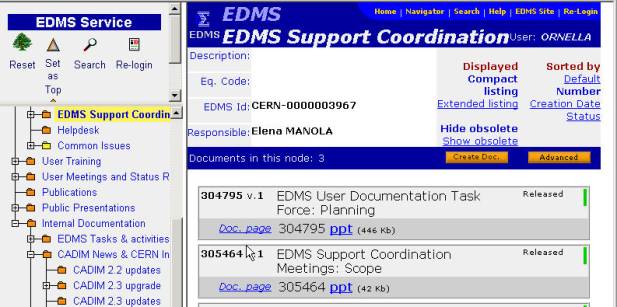
Figure 15 – Creating a document in the EDMS Navigator
On the “Register a new document” page shown in Figure 16, you enter the data about the document, the document's meta-data. The fields described in
Table 3 should be filled in as soon as possible, they may however be corrected, edited and expanded later if needed as long as the document has NOT been released. The fields marked with * in the table cannot be updated, in case of an error or mistake the complete document has to be replaced.
Table 3 – Document meta-data to provide when creating a document.
|
Title |
Document title (maximum 160 characters) |
|
Version |
If the document version does not start with the default value, you can enter what is appropriate. |
|
External references |
Here references from other divisions, collaborating Institutes or supplier companies may be entered. |
|
Keywords |
Words that indicate the major subject of the document |
|
Creation date |
Creation date. |
|
Author |
List of authors. |
|
Author e-mail |
E-mail address of the contact person. |
|
Life-cycle |
The document must be given a life-cycle (release procedure) indicator. |
|
Type * |
The document type is used for quick identification of the subject, i.e. management report, engineering report etc. |
|
Description |
A short (maximum 240 characters) abstract. |
|
Access control* |
Select to which group the document belongs to, an author can be in many groups (note that a group in the EDMS has nothing to do with the CERN notion of divisions and groups). |
|
Visibility |
The read access can be restricted to the author, the group you have selected or it can be public, i.e. anyone using the World Wide Web can read this document. |
The document creation is only activated when you click on the button “Save new doc meta”. Leaving the page by any other means cancels the document creation operation.
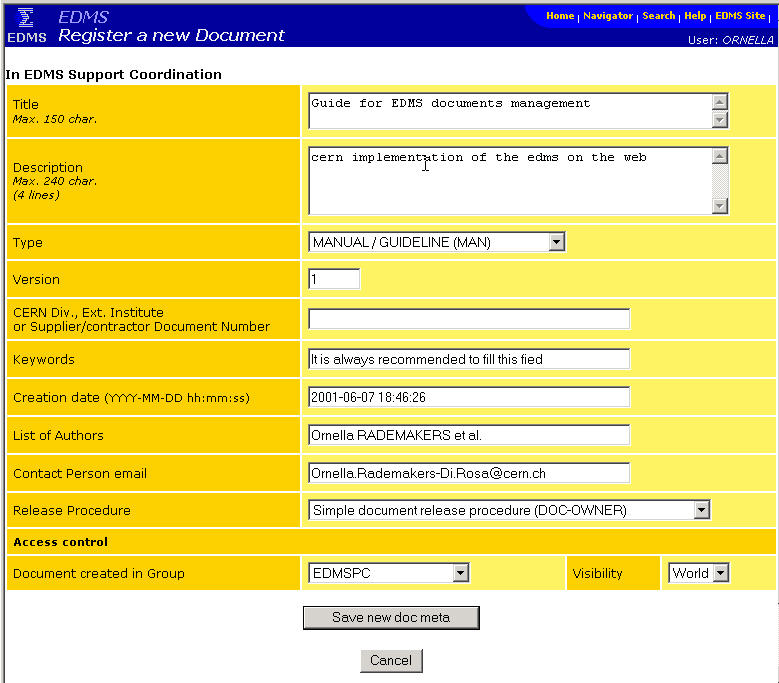
Figure 16 – Document creation page.
The result of a document creation is similar to what is presented in Figure 20. What is different is the text, date, name, etc. of your specific document. The creation of the document in the example was successful and both a project document number and an EDMS internal document number have been assigned in Figure 20. These numbers (identical by default but different e.g. in Figure 17), should be entered into the relevant templates, Figure 21, using your preferred word processor.
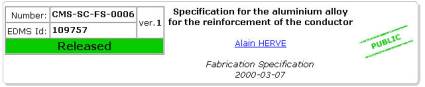
Figure 17 – Project Dependent Numbers and EDMS Id number identify a Document.
The URL of the document, see Figure 20, can be copied and transmitted in an e-mail or used in an html page to create a direct hyperlink to this document from a Web site.
Access to the document remains limited to what was specified when the document was created no matter how the document is accessed. However the access may change as a function of the project specific release procedure.
Choosing the Edit action in the Summary Tab of the document permits changing the meta-data including access rights and visibility at any time before the document has been released.
|
|
|

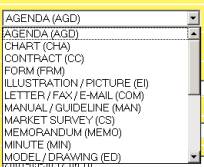
Figure 18 – Document type selection. The proposed listing of document types might vary depending on the project.
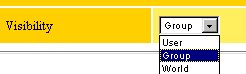
Figure 19 – Selection of document visibility (detail of Figure 18).
The visibility of a document refers to who can see the document. Selecting a visibility “owner” means that no one but the owner can see the document and its files. Selecting a visibility “group” prevents everyone else outside the EDMS group you are a member of to read the document and its files. In the present example the EDMS group is “EDMSPC”. Please note that the EDMS group concept has no relation whatsoever to the CERN hierarchical group structure. It only describes the grouping of persons working on a common project and their need of having access to the common documents. A person may belong to several groups in the EDMS. Consult your local EDMS administrator if you need to define what your group should be.
Note: The access rights to a document may change during its lifecycle, as described by the project specific release procedure.
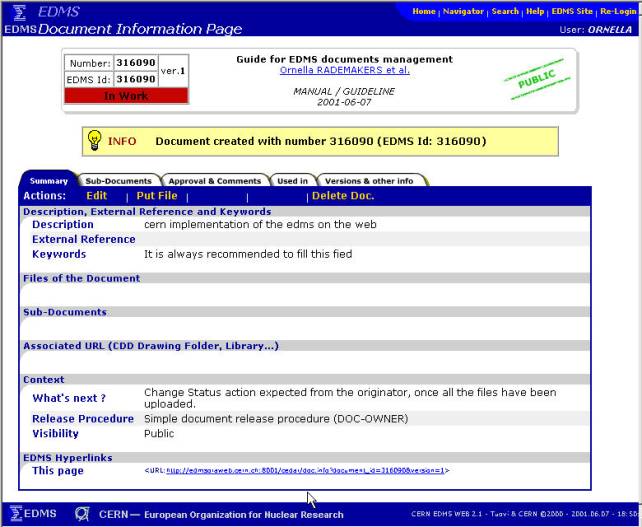
Figure 20 – Result of a document creation and resulting document numbers generated.